Friday 25 November 2016

New Embroidery Designs


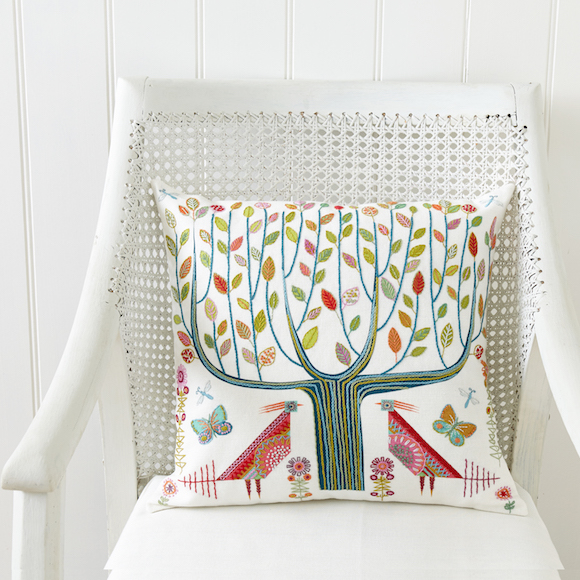
This is what I have been busy with this last month ... TREE Cushion Kit and GARDEN Cushion Kit
They are now ready and up on the new website to order for Christmas. I am so pleased with how they have turned out that I am keen to do some more kits on the same theme, though many cry out for more CATS! I will get round to it ... I promise. But then there's all the fish, flowers, birds etc flying around in my head! I just need to go with the flow right now and flowers seem to be what is in my mind. No, not Christmasy, but those who know me also know I am not a huge fan of sticking to seasonal things particularly ... but now I am going to try to blog more when I have worked out how to use the new blog which goes with the website. So much to learn and Christmas does get in the way so! Apologies to those who can cope with all the added stress!

These two new kits, as you can see have been designed to be framed or made into cushion panels. In making the samples I found I really loved playing with the colours and not being too restricted by the stitch map. Have fun playing with your own colour combinations and stitches. That is what they are for after all, to experiment and make them individual to you. 
Printed linen, stranded cotton, hand embroidery kit
GARDEN Cushion Kit
Printed linen, stranded cotton, hand embroidery kit
GARDEN Cushion Kit framed as a sampler


Printed linen, stranded cotton, hand embroidery kit
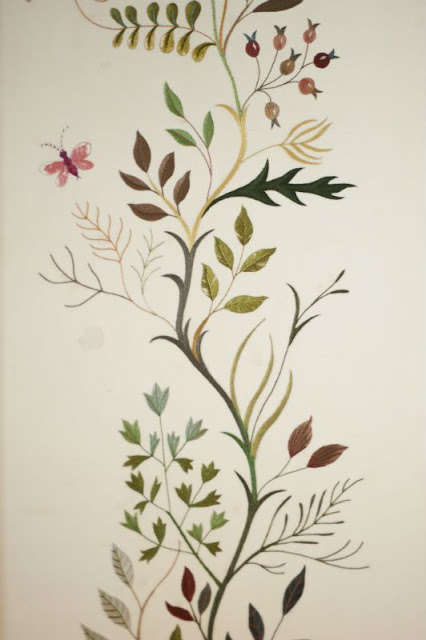
Detail of GARDEN Cushion kit

Printed linen, stranded cotton, hand embroidery kit
TREE cushion Kit 

Printed linen, stranded cotton, hand embroidery kit
TREE cushion Kit as a framed sampler
Printed linen, stranded cotton, hand embroidery kit
TREE cushion Kit Detail


Thursday 24 November 2016

Christmas Pockets

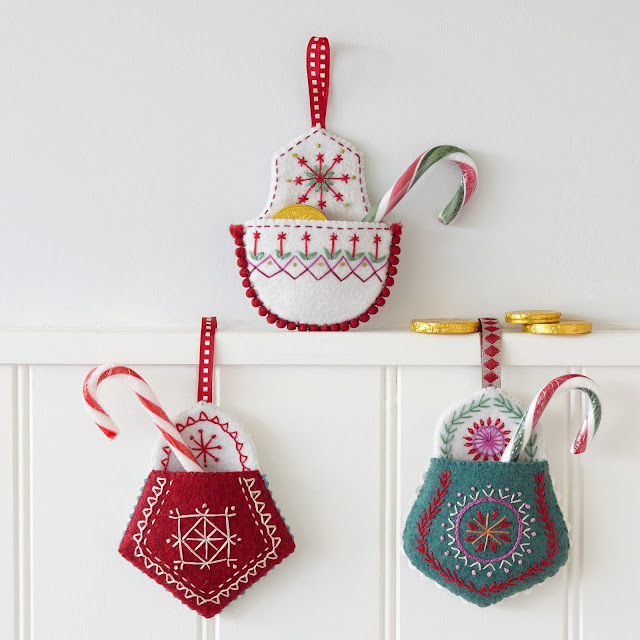
Here's something to get stuck into for Christmas ... all a little late but it has been a very busy month, Here I have tried to design something simple to make, three little Christmas pockets which can be made singly or in multiples to make an advent garland. You can download here 

News coming up of new kits and NEW WEBSITE with the invaluable help of Kirsty from SOSWEB! Any day now ... Lovely new photos too by my chum Vanessa at Pixel Kitchen and last week (Feels a lot longer we moved the studio to a proper premises away from the cottage ... so I have my living room back and a very much more efficient work space int which to pack orders and keep the ever increasing stock levels from overwhelming my home. Now I come home to relax a bit (still no internet at the studio so office and admin have clung on at home). More in a day or so ...

Craft download, felt, embroidery using stranded cotton and simple stitches


Craft download, felt, embroidery using stranded cotton and simple stitches


Craft download, felt, embroidery using stranded cotton and simple stitches


Craft download, felt, embroidery using stranded cotton and simple stitches


Saturday 20 August 2016

Royal Yacht Brittania

I recently had an email from a lovely lady who is working on the Netflix production of The Crown.
As my mother designed the embroidery which hangs above the Queens bed on the Royal Yacht Britannia back in 1953, they have asked for permission to use the design in the film, and plan to make a replica. I actually have the original watercolour she did, I knew it was somewhere safe ... but the trouble with putting something away in a safe place means it then gets muddled in the brain filing cabinet ... so ensued a turning upside down of all the archiving of my mothers extensive works I have been doing, and of course it was not where it should have been! So it meant an upturning of almost the whole cottage ... But I now have a very organised studio ... but this morning I suddenly remembered where it was, went straight to the right drawer and there it was ...

Watercolour of the design for the embroidered panel which hangs above the Queen's bed

Though she was commissioned to do the design, it was then given to the Royal School of Needlework to embroider, very finely in silks.

Quoted from here
"The silk embroidered panels were designed and created in 1953 and were the inspiration of Joan Nicholson, a young British designer, chosen by Sir Hugh Casson (HM The Queen’s chosen designer for Britannia’sState Apartments)."

Detail of side panel
Quoted from here  "The Queen wanted the embroidery to remind her of home when she was traveling abroad, with hedgerows, wild flowers and butterflies. Ivory silk from France was chosen for the background and it took several skilled workers many months to complete at the Royal School of Needlework in London. "

I am very proud of her ... a young mother with two small children, I was not around but so glad I still have this precious document, though very delicate and fragile and somewhat faded. It will now be filed in the correct place! Look out for The Crown when it is out (not sure when)

Detail of side panelDetail of side panel


Centre of circular panel

Central panel detail


The embroidery in situ

The embroidery in situ

Thursday 28 July 2016

Modern Folk Embroidery

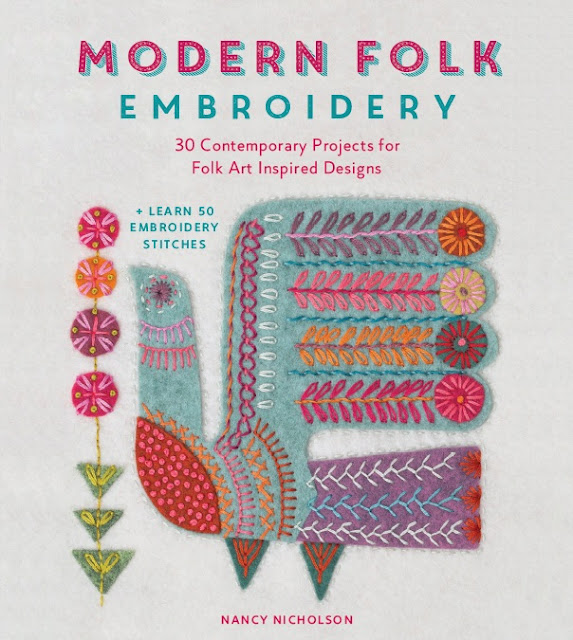
Modern Folk Embroidery by Nancy Nicholson pub by David and Charles
At Last it's done!
It has taken a few months but at last the book is in production and will be out November 16th this year. Thanks to all at David and Charles for being so patient with me! You can pre-order the book NOW here to get your copy as soon as it is available.

I have also been designing some new cards to add to the collection I have done for The Art Group, (below) available here ... The 5 new designs include these two, which may also become kits in the near future! I am already finding myself thinking bizarrely about Christmas, which is like brushing my hair the wrong way, while the dog is panting in the heat and the sun beckons me to come into the garden and hack down the brambles ... so we can venture to the jungle at the back of the garden.
We recently also began supplying John Lewis for Autumn Winter so yesterday stuck on 800 barcodes to the kits they have ordered.
But some new kits are on the way!
Fish Shoal Card for The Art Group
FISH SHOAL

MULTI CAT Card for The Art Group
MULTI CAT card


Tuesday 31 May 2016

Embroidered Felt Cat Family

It has been a very busy few months here ... I have been working on a book for David and Charles, which will be coming out in November. It is called Modern Folk Embroidery, by me. And I think soon you can pre-order it through Amazon but will post details when I know. Soon I can promote it too with taster photos of the projects. 

But while doing projects for the book I designed this Felt Cat Family as a download. It all began with a folk doll made for the book and then I found I just had to try the same (ish) shape for a cat toy too. Muma came first then as the pattern can just be scaled up and down at will ... came Papa and Kitten ... I could have gone on and on and may well do when I have more time. A white one next with hot pink and reds and oranges (my default colour setting) ...

So you can download this Cat Family HERE which is a very simple felt toy to make, and uses a few simple hand embroidery stitches to great effect. The great thing is it is open to your own creativity regarding the stitch combinations, you could go stripy, spotty, zigzaggy ... endless possibilities!

While you are on the WEBSITE have a look at the other downloads we have.

Easy to make felt cat family
The Whole Cat Family, a group shot


Easy to make felt cat family
Muma and Kitten


Easy to make felt cat family
Papa cat

Easy to make felt cat family
Muma Cat

Easy to make felt cat family
Kitten cat


Saturday 20 February 2016

New Owl download!

Here is our new download for the SPRING. An A4 sampler with two rather surprised owls. I get asked so many times to do owls ... so I gave in. You can download HERE

And there's a special bonus thank you for ordering the first of our new owl downloads ― an exclusive download pattern of the robin design that makes up the Nancy Nicholson logo! The pattern is on p6 of this PDF, with the stitch guide on p5. Just follow the general instructions given for the owl on pp1-2.
This is a special commemoration celebrating the beginning of our fifth year in business, and a thank you for being part of it.
I’ve been working with textiles for most of my adult life, as a maker and teacher. Four years ago I launched my first range of designs, initially as press out card models, and then as the Cat and Bird embroidery kits (all of these products are still available on my website today).
I wanted everyone to be able to learn hand embroidery, and to inspire them to do so with contemporary designs. So the Cat and Bird were swiftly followed by Lovebirds and the Teapot, and then the Birdie group of four smaller kits for children and beginners. We’ve also extended the range with five new cushion kits including the very popular BirdDance.
Not least, if you’re reading this you’ll know we’ve created an exciting range of instant downloads from our Etsy shop: designs you can print out and transfer onto lightweight fabric and stitch for rapid gratification!
This is an exciting time for the business. In the coming year there will be a new range of cushion kits, and I am working on a book with publishers David and Charles! We’re getting more and more interest from shops, including large retailers, which means the design style is going to get seen by more and more people.
I hope you can feel some pride in being an early enthusiast for this work. Thank you for all your support and for helping me grow this business to become so special.


How to print onto fabric using freezer paper


Here is a little guide on how to print onto fabric using your home inkjet printer. It is surprisingly simple once you get used to it. You can buy Reynolds Freezer paper from Amazon HERE ... and all our downloadable patterns are HERE so you can confidently have a go!


1. Using a sheet of A4 paper as a guide, 
cut out the same size 
in freezer paper. Also cut an A4 sized 
piece of lightweight fabric. 


2. Now, place the shiny side down 
onto the fabric. 


3. Iron the two together. 


4. Trim the edges to exactly A4 and any 
stray fibres or threads from the edge as 
these could get caught in the printer rollers. 
Set your printer to print the design 
and place the fabric/paper in the feed tray
so it will print on the fabric side. 
Press PRINT.
Once printed you will need to remove 
the backing paper.


Monday 26 October 2015

CHRISTMAS 2015 BAUBLES TO DOWNLOAD!

Here are my 2015 Christmas Baubles! Go to the website for instant download! They will also be in the Country Living feature I believe ... They are very addictive to make and the variations are endless. In the download there is a pattern and, stitch library, and stitchmap to show you where to place the stitches, I am quite proud of it. I just love doing the downloads, it is hugely satisfying and appeals to my sense of order, though I am in truth constantly struggling with organisation!

Anyway I hope you will enjoy them!